Shiny the jellyfish – free jellyfish crochet pattern
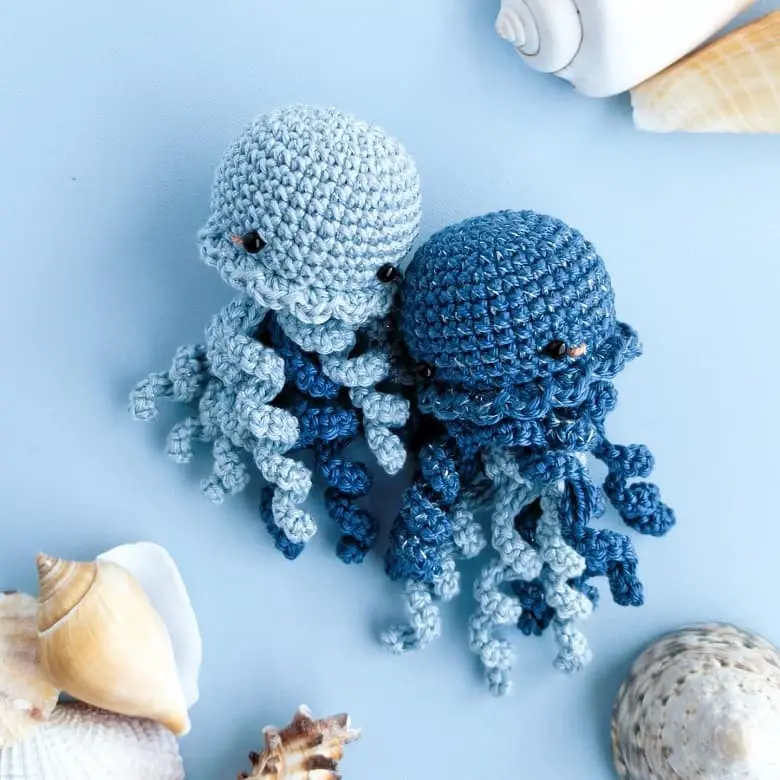
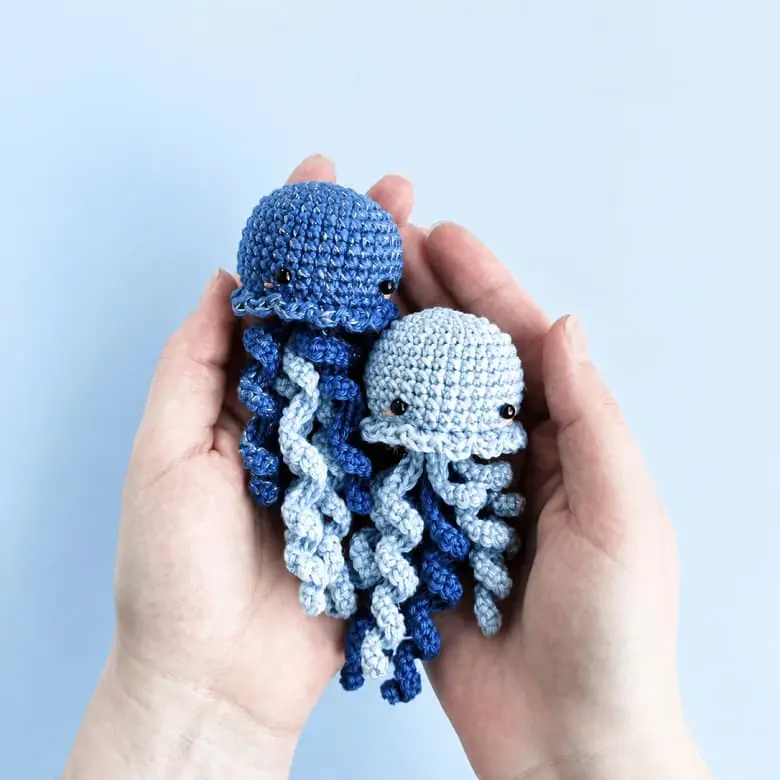
A super cute and beginner-friendly free jellyfish crochet pattern featuring an adorable jellyfish design made with soft cotton yarn and a touch of sparkling lurex. This easy amigurumi pattern is perfect for beginners and includes simple crochet techniques, making it a fun and relaxing project for anyone starting their amigurumi journey.
Create your own handmade jellyfish toy with endless color combinations and personalize it with your favorite yarns. (For beginners, we recommend making the jellyfish without lurex for an easier crochet experience.) This charming crochet jellyfish makes a lovely handmade gift, nursery decoration, or cute addition to any amigurumi collection.
📊 Pattern Information
👤 Designer: @minimoon.amigurumi
🧶 Skill Level: Beginner
📏 Size: toy size depends on yarn weight and crochet hook size
Supplies
- Gazzal Giza yarn (100% cotton, 50 g/125 m)
- OnlyWe Alluring Shine yarn (70% viscose, 30% lurex, 50 g/1500 m)
- 2.0 mm crochet hook
- 4 mm eyes (sew-on glass eyes or plastic safety eyes)
- Tapestry needle with a large eye
- Stitch markers
- Scissors
- Pins (optional)
- Polyester fiberfill (toy stuffing)
Abbreviation used (US terms)
- Rnd – round
- ch – chain
- sl st – slip stitch
- sc – single crochet
- hdc – half double crochet
- inc – increase (2 sc in the next stitch)
- dec – decrease (single crochet 2 stitches together)
- (…) – total number of stitches you should have at the end of the round
- (…)* 6 times – repeat the instructions between the brackets the indicated number of times
Free amigurumi jellyfish crochet pattern
Head
Part 1
Rnd 1: 6 sc in a magic ring (6)
Rnd 2: (inc)* 6 times (12)
Rnd 3: (1 sc, inc)* 6 times (18)
Rnd 4: (inc, 2 sc)* 6 times (24)
Rnd 5: (3 sc, inc)* 6 times (30)
Rnd 6: (inc, 4 sc)* 6 times (36)
Rnd 7-12: 36 sc around (6 rounds)
Rnd 13: (4 sc, dec)* 6 times (30)
Rnd 14: this round front loop only (3 hdc in the next loop, 1 sl st)* 15 times (60)
Cut the yarn, fasten off and weave in tails.
Part 2
Rnd 1: 6 sc in a magic ring (6)
Rnd 2: (inc)* 6 times (12)
Rnd 3: (1 sc, inc)* 6 times (18)
Rnd 4: (inc, 2 sc)* 6 times (24)
Rnd 5: (3 sc, inc)* 6 times (30)
Leave a long tail for sewing. Cut the yarn and fasten off.
Tentacles long (make 3)
Start with a chain of 40 ch.
1 sc in the 2nd ch from the hook, 1 sc in every next ch to the end.
Fasten off and cut the yarn.
Tentacles short (make 6)
Start with a chain of 12 ch.
1 sc in the 2nd ch from the hook, 1 sc in every next ch to the end.
Fasten off and cut the yarn.
Assembly and finishing
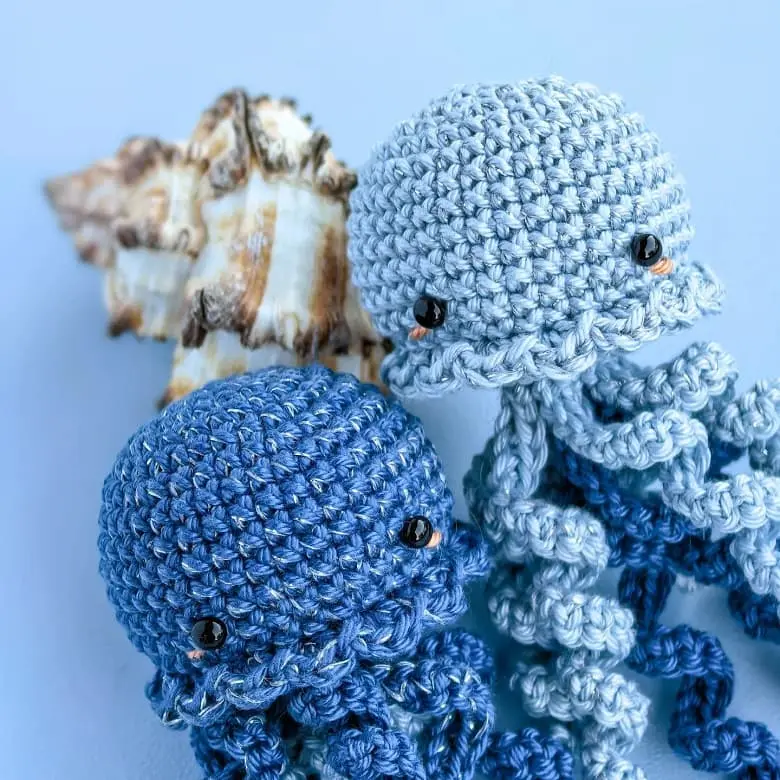
Sew the tentacles to Part 2: sew the long tentacles directly onto every second sc of the 1st round and the short tentacles onto the 2nd round, so that they are evenly spread out.
Fasten off on the wrong side of Part 2 with knots, then cut the yarn.
If you are using plastic safety eyes, insert and secure them before the next step.
Sew Part 1 (under the remaining back loops of Round 13) to Part 2 (under the back loops), joining about two-thirds of the seam. Stuff the head, then sew the remaining third closed.
Sew the eyes onto the lower third of the head, spacing them about 5–6 inches apart, and embroider the cheeks next to them.